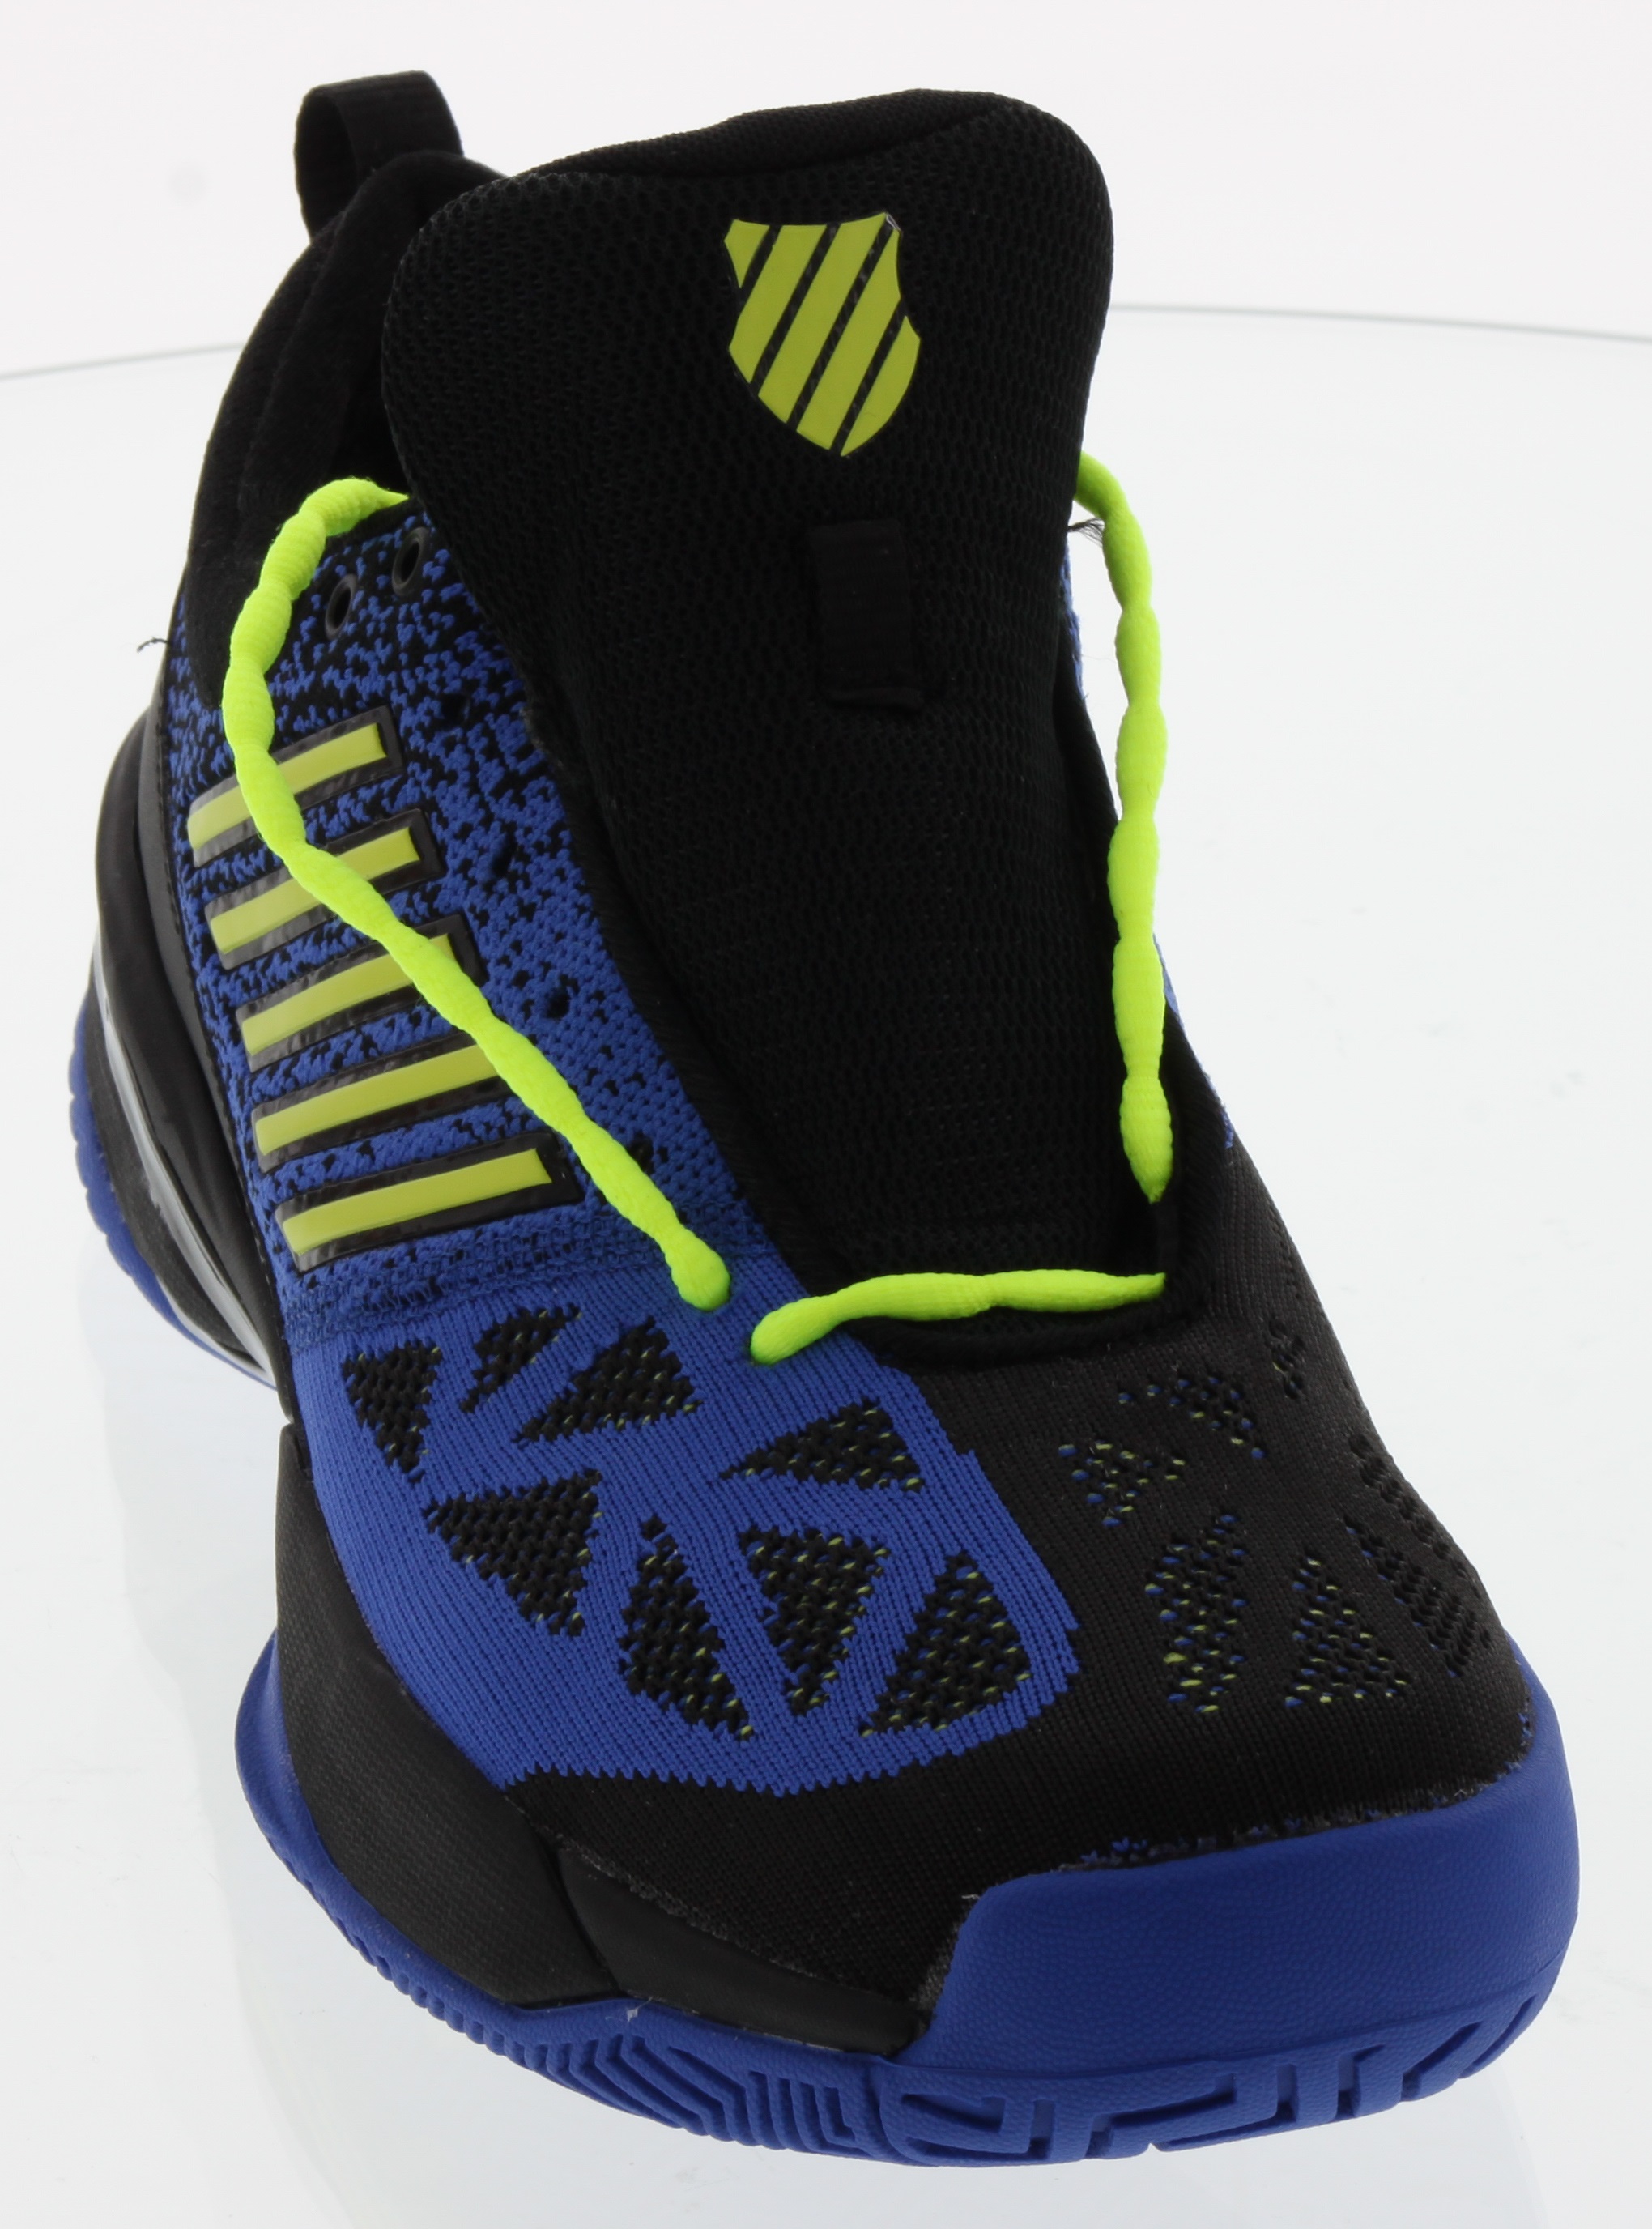
As somebody who has competed in a variety of sports over the years, I’ll admit that I always took my footwear for granted. If the shoes fit relatively well, had decent traction, and didn’t get in the way of my performance, they were good enough for me. Basically, I was never the type to research top performance gear or find an ideal fit. I just wanted to play. That said, I wish I would have known about the potential returns that can be made by simply lacing up your shoes in a different way. Based on the unique needs of your foot, various lacing techniques can relieve pressure in certain areas, and create support in others. This translates to fewer injuries and greater comfort. If any of your shoes don’t fit quite right, I highly encourage you to learn more.
 Introduction to Customized Lacing
The first thing that you’ll need to do is unlace your shoe all the way to the base. It is important to keep in mind how your laces begin near the toe because shoe eyelets can differ in their construction and orientation. Simply take a look at how the stock laces are strung, and either leave them, or mimic them with new laces. Once this is complete, you’re ready to create your own custom shoelace pattern.
*Please note that for better visual references, you can open larger, higher quality images in new tabs by clicking on the pictures in this document.

 Lacing Pattern for High Arches
Individuals with high arches generally experience quite a bit of discomfort through their instep because of pressure from the laces. This lacing technique, “Volume Lacing”, opens up the middle of the lace pattern in order to alleviate some of this pressure. The shoe will still remain secure around your toes, the balls of your feet, and your heel.
All you need to do to create this pattern is thread the laces vertically when you reach the spot in your shoe that places pressure on your foot (as opposed to across). Once beyond this area, continue the lacing pattern as normal.

 Lacing Pattern for a Wide Forefoot
If you have a wide forefoot, you likely experience discomfort on the sides of your feet due to your shoes feeling too narrow. This lacing technique, “Forefoot Volume Lacing”, allows the shoe to widen itself naturally. This means that you will no longer need to break in your shoes over a long period of time.
To create this pattern, string the laces vertically near the forefoot, and then cross them as normal at the top. Depending on your foot size, you may need to try a couple of variations to find a good balance between looseness and stability. The shoe can feel less secure if you allow it to remain more open than it needs to be.
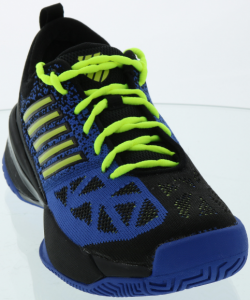
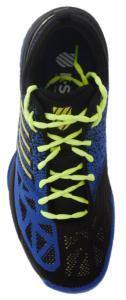 Lacing Pattern to Combat Heel Slippage
If you feel your foot move forward and backward in your shoe, and never quite find a solid sticking point, then this lacing pattern works wonders (I say this from personal experience). Also known as “Lock Lacing” or “Loop Lacing”, it will help secure your heel, which translates to less overall foot slippage.
To lace your shoe this way, simply string it up as normal, but do not cross the laces at the top. Instead, create loops on the sides of the top two eyelets by running the laces vertically in this area. You will then cross the laces, and run them through the loops you just created.
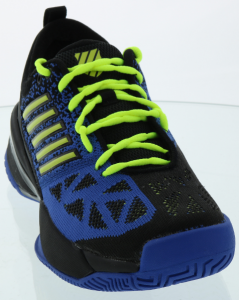
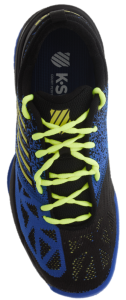 Lacing Pattern for Midfoot Support
“Midfoot Lock Lacing” or “Loop Lacing” is ideal for those who need additional stability in the middle of the shoe. Essentially, it will create natural support through the instep by pulling the middle of the shoe in and up. An added benefit is reduced lateral shoe movement. This method can be applied in sports that require a great deal of side-to-side motion (like tennis).
To create this lacing pattern, you need to run the laces vertically through the middle two eyelets to create small loops on the outside, cross the laces in this area, and thread them through the loops you just created. From here, simply lace the shoes as normal.
 Combined Lacing Patterns
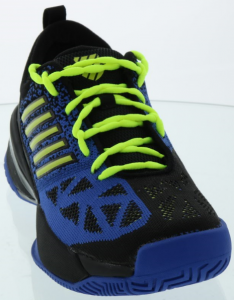
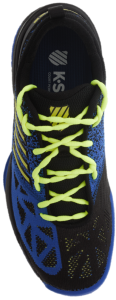
Many lacing patterns can be combined to create a better-fitting shoe based off of your individual requirements. The most common combination, however, is that of the two “Lock Lacing” or “Loop Lacing” techniques mentioned above (one for the heel, and the other for the midfoot). This marriage is perfect when your shoe feels too big. You will receive the same benefits as above, so expect a more secure heel, and greater support in the midfoot. This lacing pattern is also popular in sports that require a lot of lateral movement.
To implement this pattern, you must create two “looped” areas as described in the other sections. The remainder of the shoe can be laced as normal. Some trial and error may be necessary to create support in desired locations.
 Lacing Pattern to Reduce Pressure on the Top of Your Foot
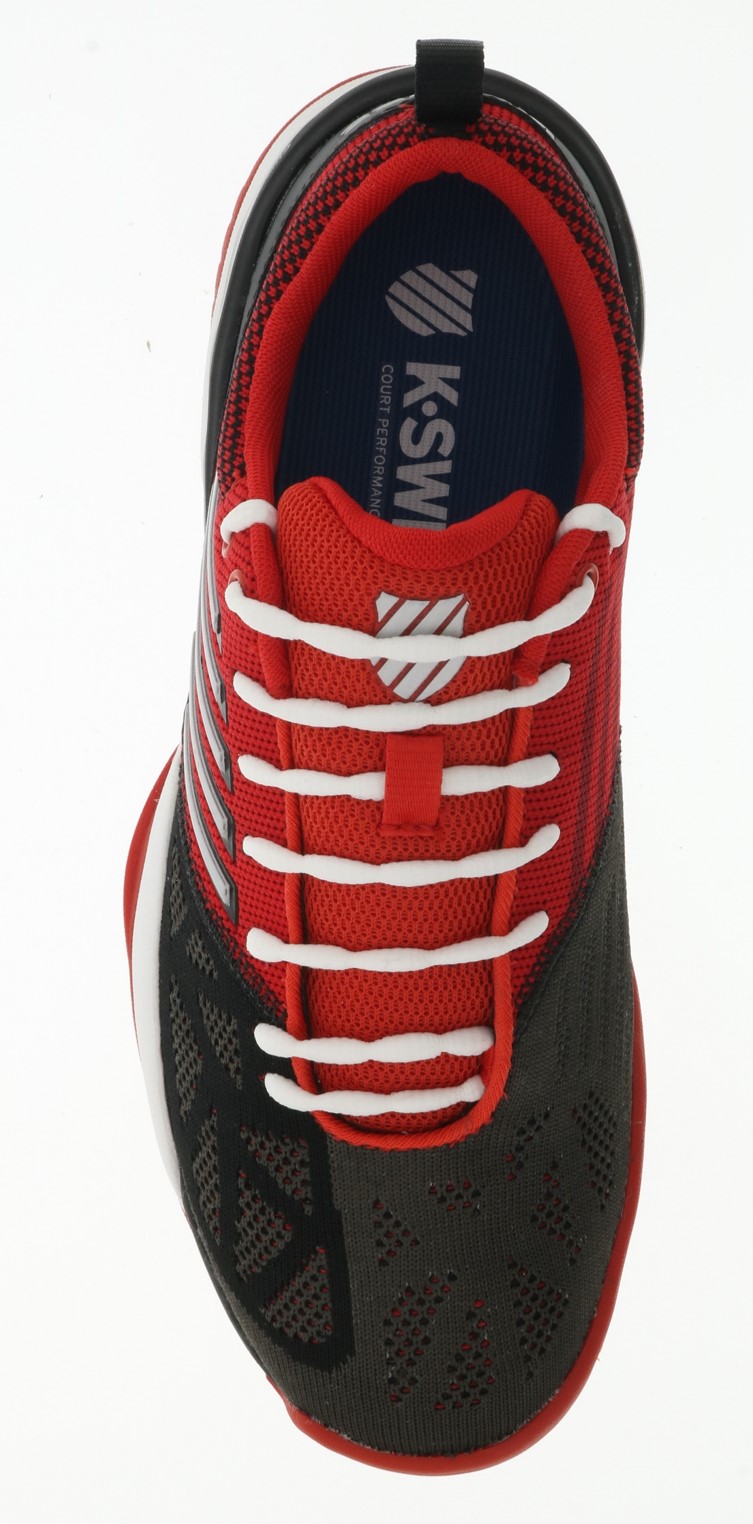
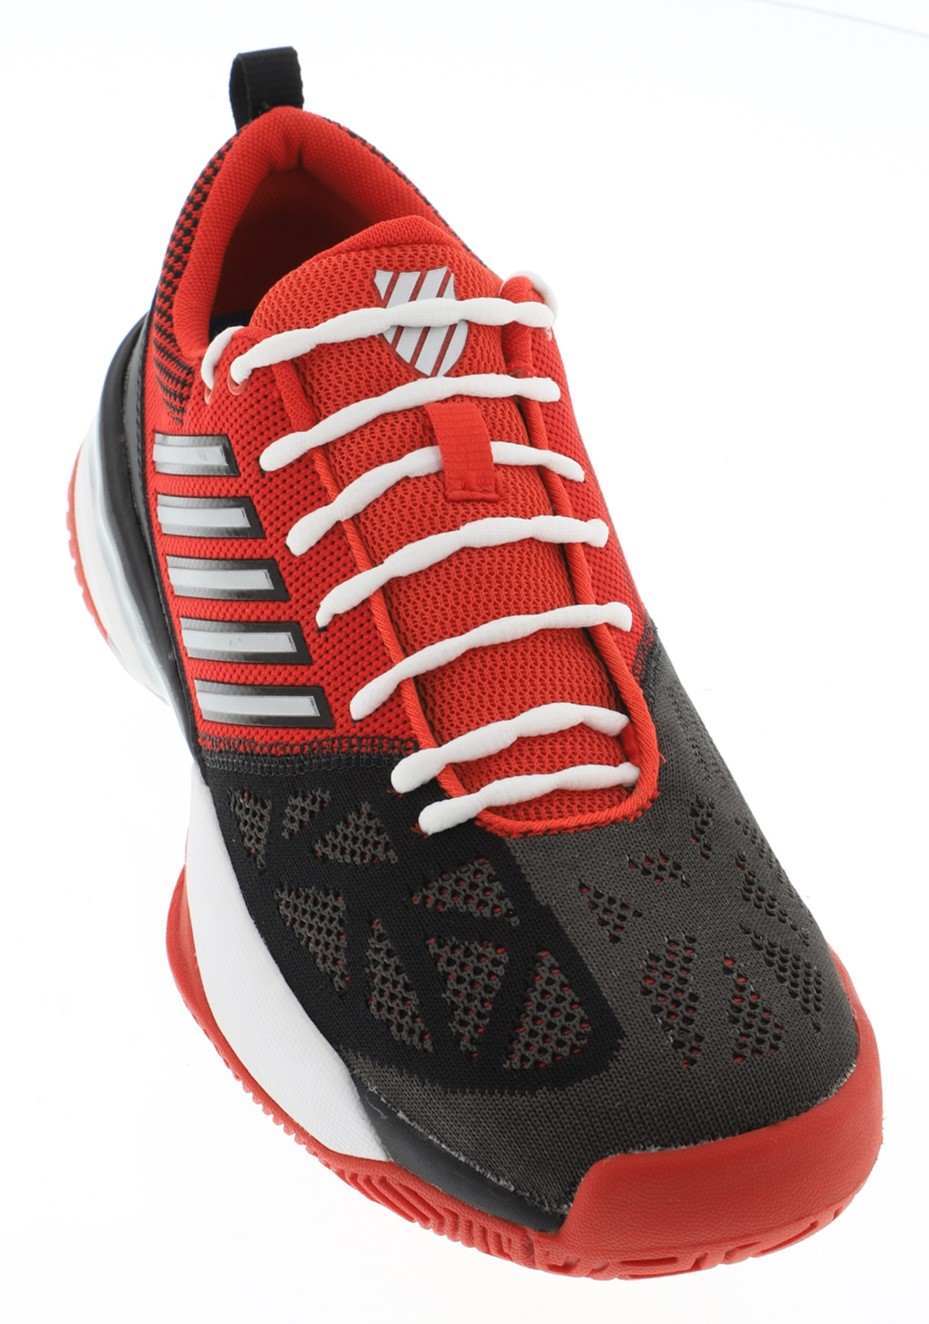
If you feel pain and discomfort on the top of your foot due to tight laces, then this lacing pattern will help to reduce pressure. In essence, the parallel pattern, also known as “Lydiard Lacing” or “Straight Bar Lacing”, will provide more space for the top of your foot. This method uses less lace than a traditional crisscross technique, so you will have more lace left at the top of the shoe.
To create this pattern, you will need to bring both laces to the same side of the shoe using the first two eyelets. The lace in eyelet 1 will run up the same side of the shoe, loop through eyelet 3, and then go directly across. The lace in eyelet 2 will go up the same side to eyelet 4, and then across. Once on the other side, you continue this pattern of up two and over until at the top of the shoe, where only one side will cross in order to tie them.

 Lacing Pattern to Relieve Toe Pain
If you ever wind up with black toenails or general toe pain following a workout, training session, or match, then try out this lacing technique. The single diagonal thread works to lift the top/front of your shoe off of your toes. This reduces friction, and helps to prevent your toes from sliding forward. Depending on your needs, the diagonal thread can target the inside or outside of your shoe to provide relief for your big toe or smaller toes, respectively.
When stringing this pattern, one end of your lace will need to be longer than the other. While the longer end will wrap up the entire length of the shoe, the shorter end will go straight from the bottom hole to the top hole in a diagonal fashion.
Watch
About the Author: Chris Worman

Weight: 190 lbs
For More on Tennis Shoes
To learn more about tennis shoes, we encourage you to check out some of our other informational blog posts:

